Building a GPT-Style Cover Generation Skill with Qwen 3.8-max
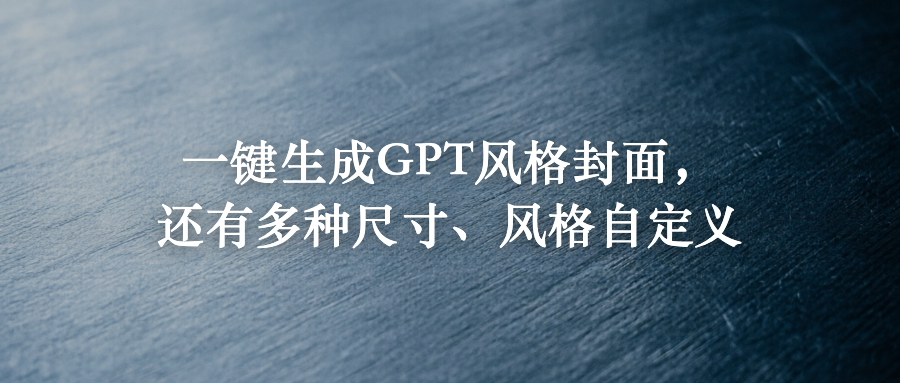
The biggest headache of writing a technical blog is the cover image. I’ve been struggling with this for a long time — it needs to match the tone of the article, and my boss wants it to look “premium.” I was mulling over how to solve this when I stumbled on OpenAI’s Customer Stories page. The covers are gorgeous — understated yet polished. Each image is just a solid-color texture or a single beam of light, with one line of title text on top. Restrained and refined. Perfect for a technical blog.
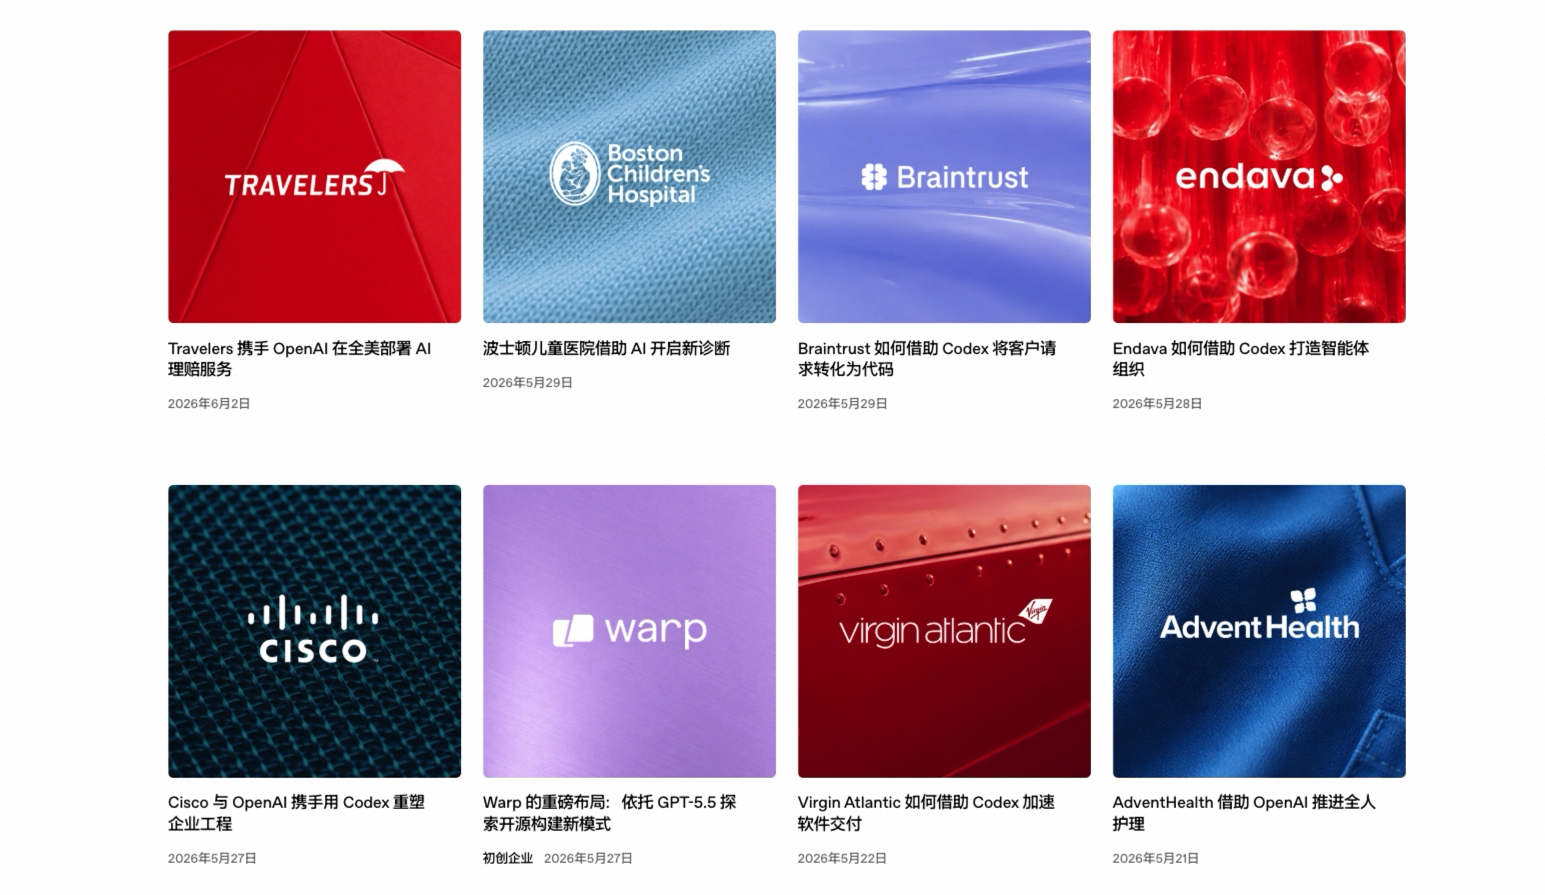
👆 Here’s a preview of the OpenAI blog page.
Cover images for technical articles have always been in an awkward spot. Screenshots look too rough. Illustrations don’t match the content. You scroll through Unsplash for twenty minutes and the image you pick still feels one step removed from the article. OpenAI’s “pure texture + title” approach sidesteps this entirely. The image doesn’t need to be “related” to the content — it just needs to match the tone.
Since finding covers is repetitive work that AI can handle, why not build a Skill? So I did.
Let me show you the result first, then I’ll walk through how it works and how to install it:
Building the Skill: Qwen Code + Model Studio CLI
The whole setup has just two pieces.
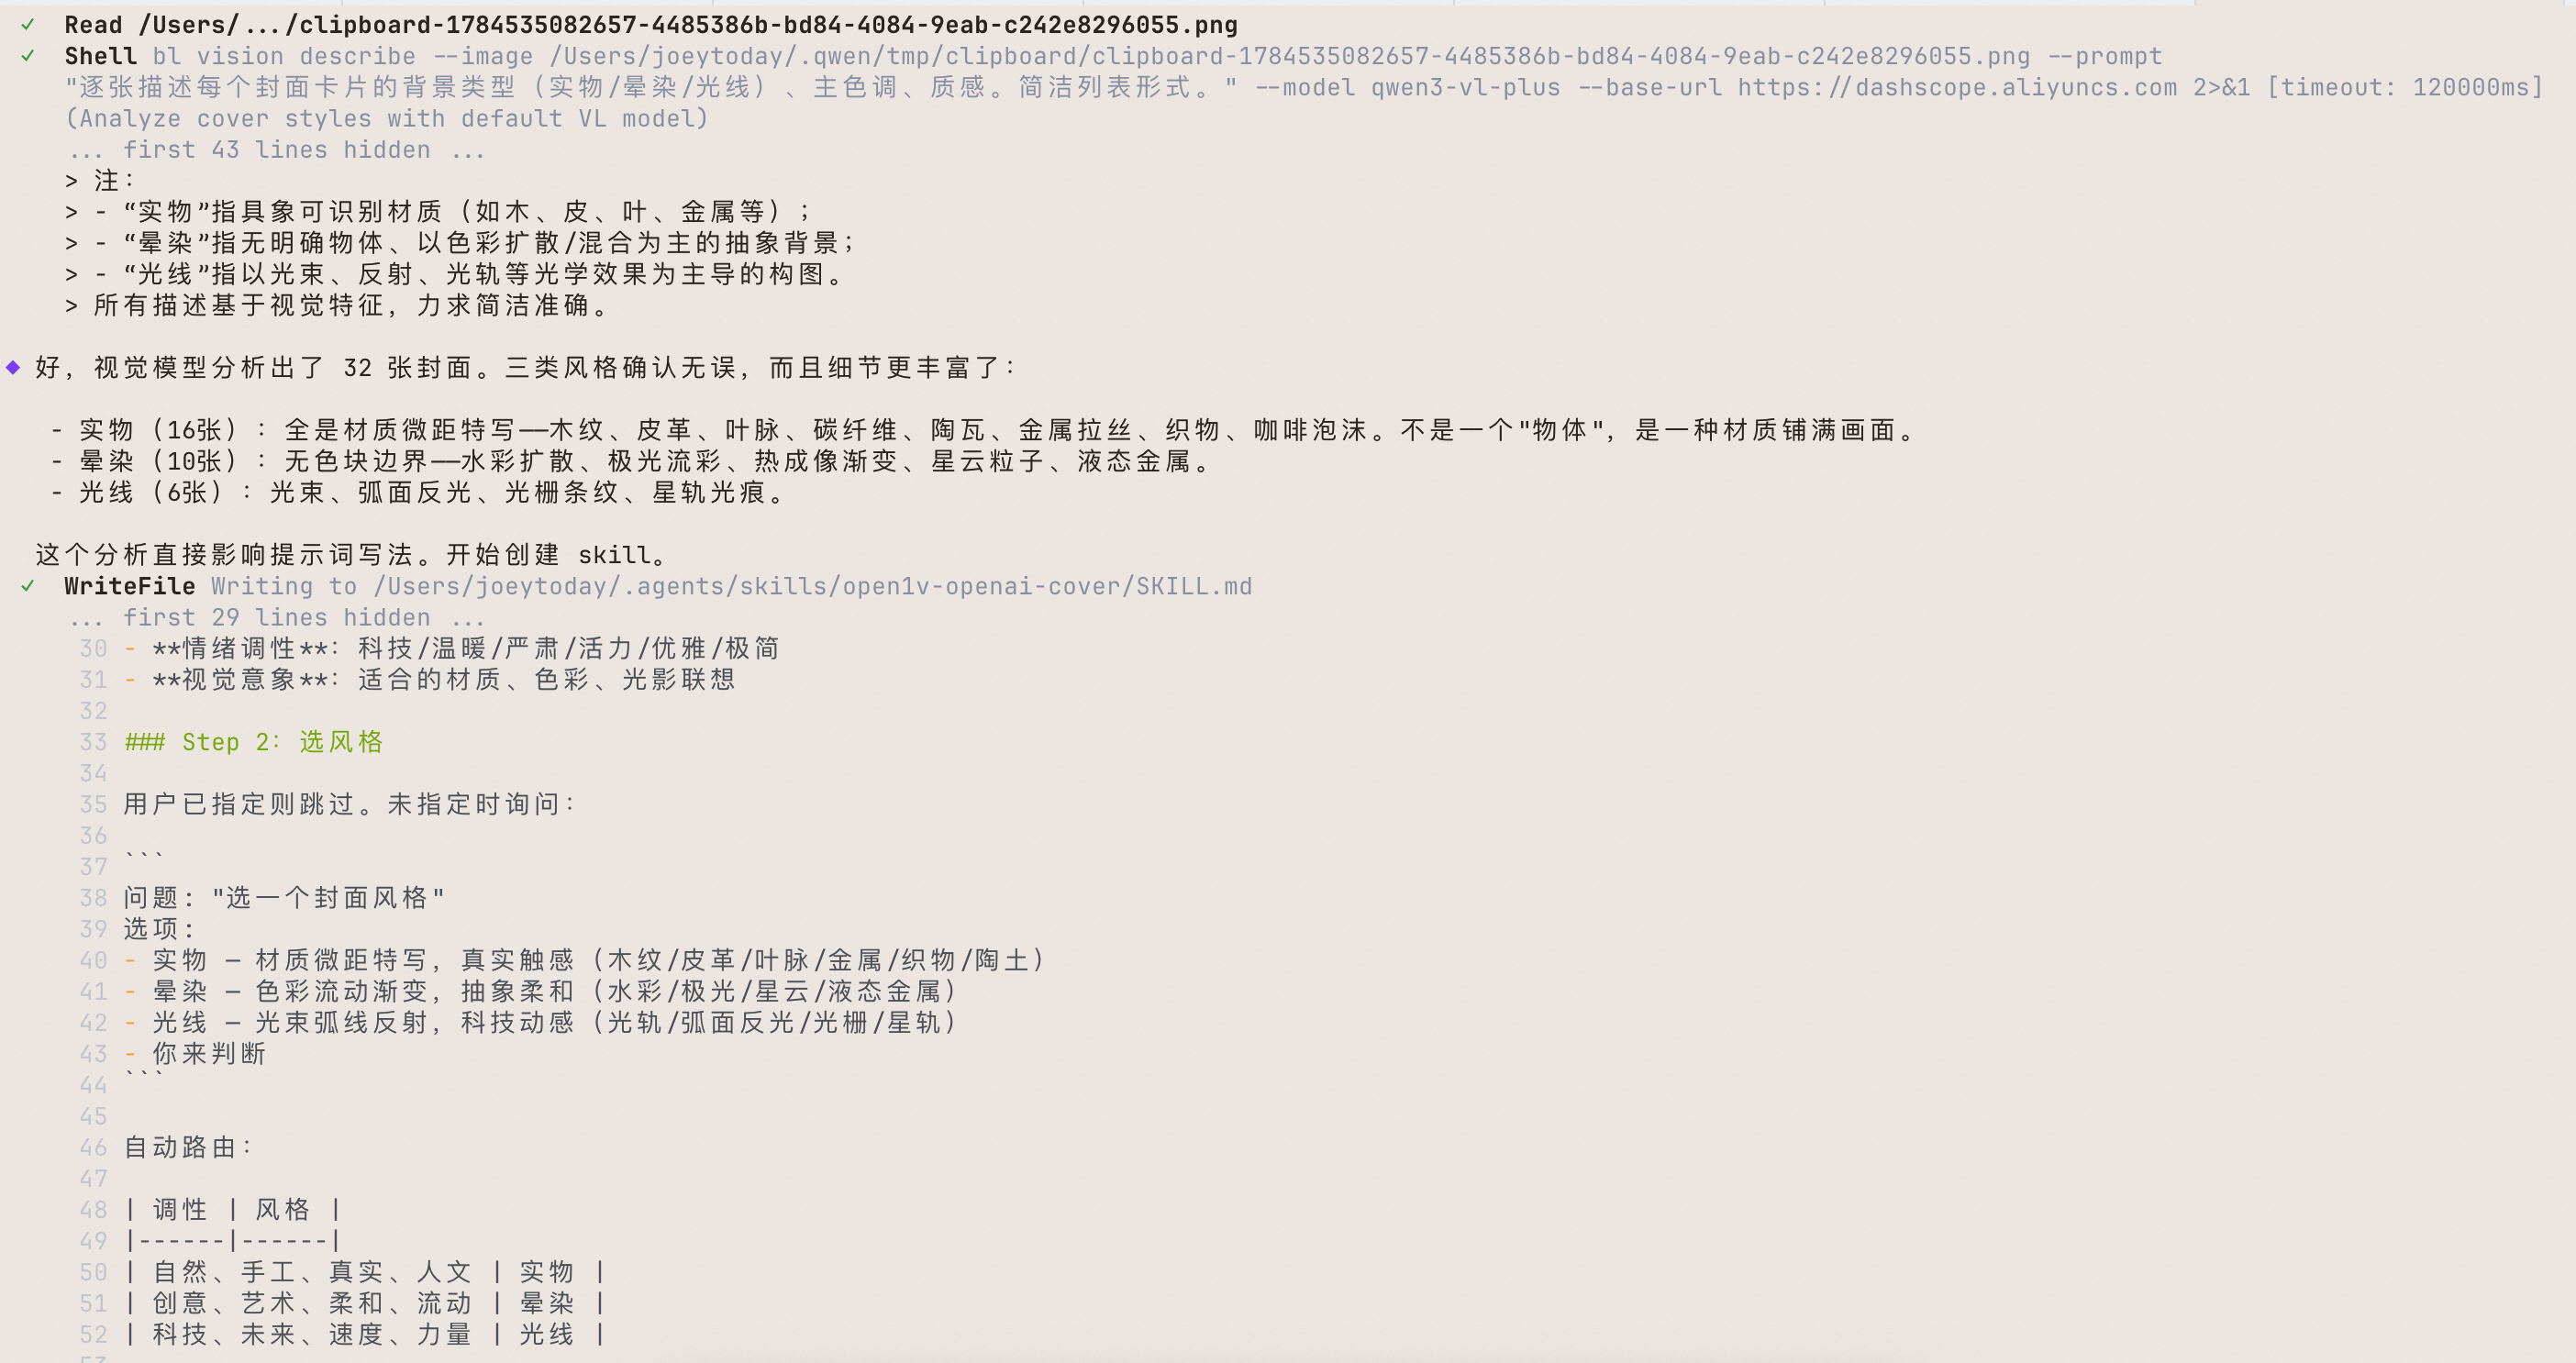
Qwen Code handles the workflow orchestration. I screenshot the website content directly into Qwen Code and tell it I want to build a Skill that generates this kind of cover. Even though qwen3.8-max doesn’t have multimodal capabilities, Qwen Code automatically calls the vision model I’ve already configured — like qwen3.6-plus — to recognize the content and generate a description for qwen 3.8-max. Then 3.8 starts analyzing and implementing. Super smooth. Qwen Code analyzes the screenshot content, categorizes it, and of course I did some manual work too — then 3.8-max assembles the prompts.
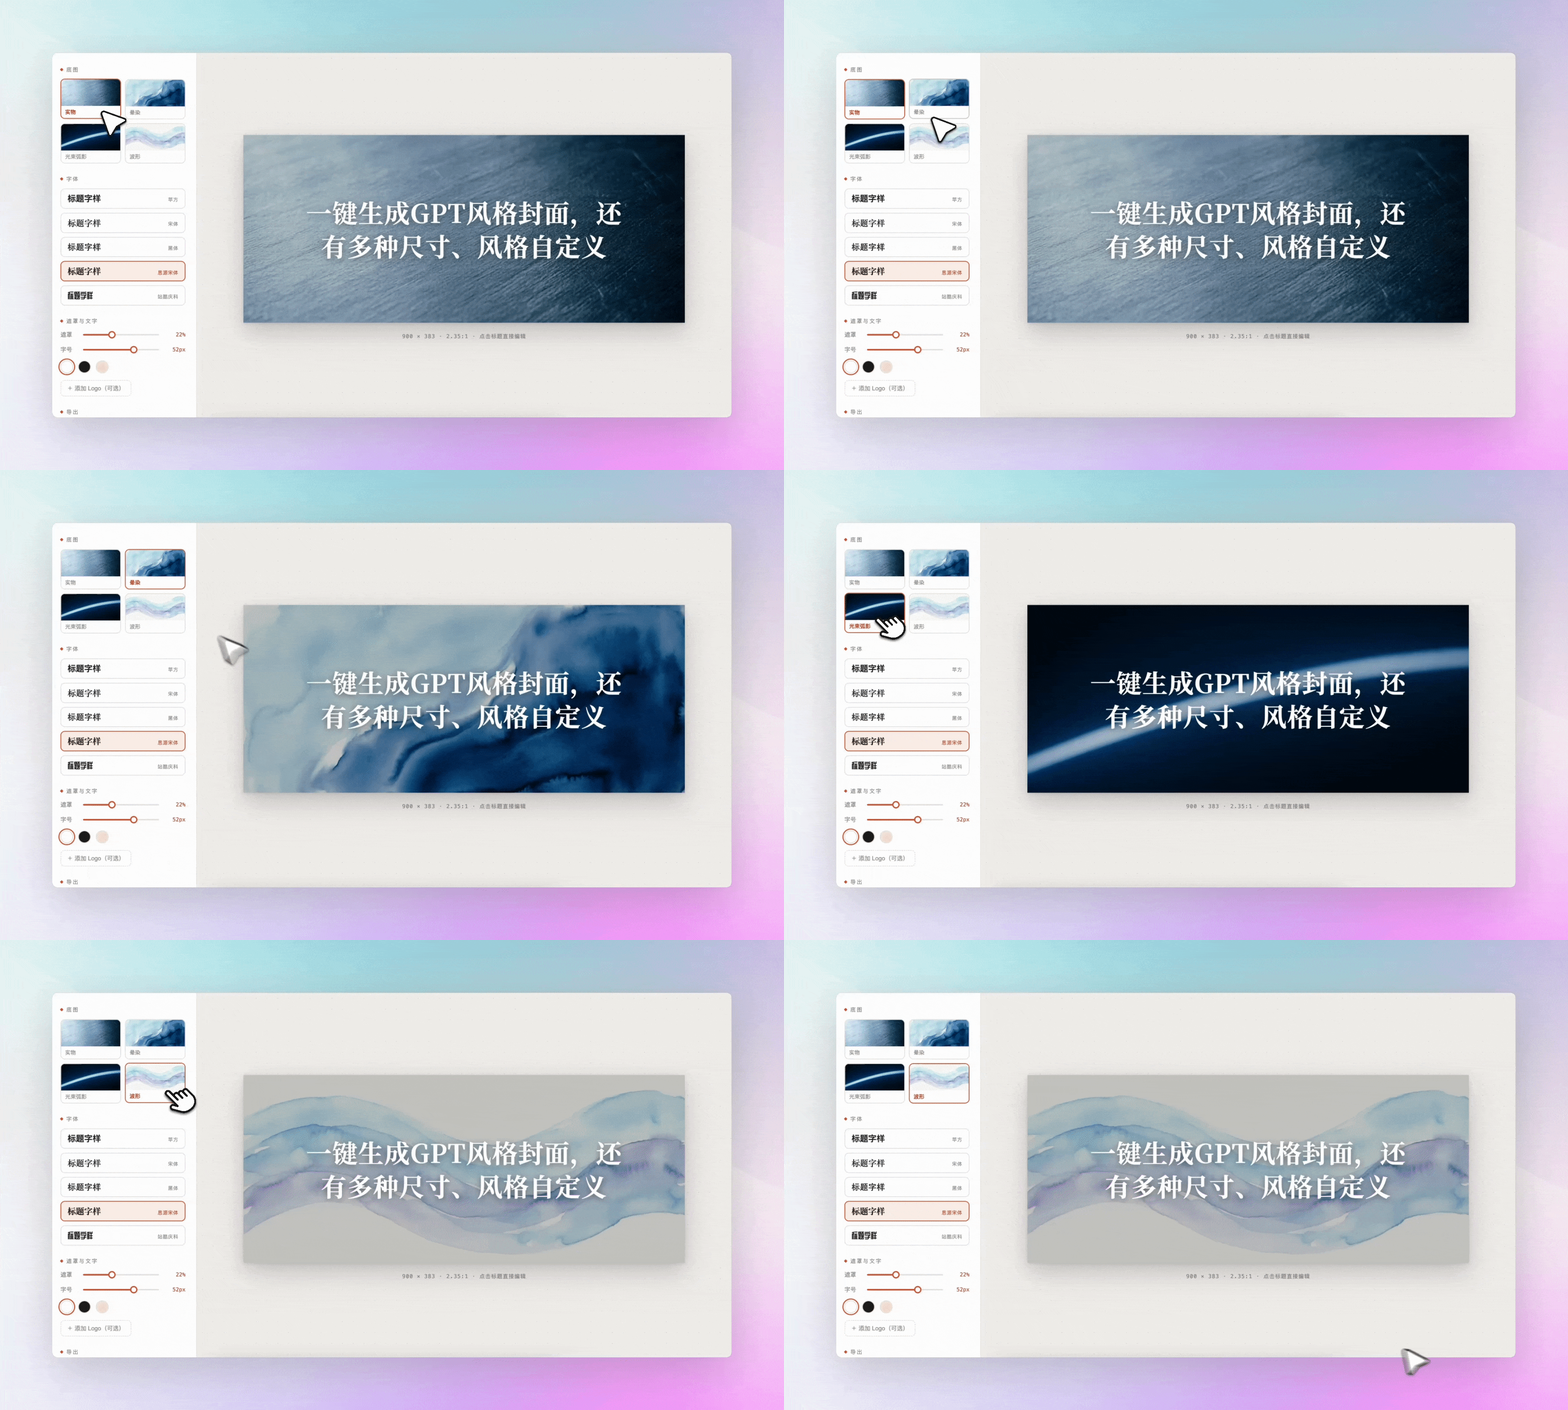
Model Studio CLI uses the qwen-image model to generate images in the corresponding style, then composites the background image and title into an interactive HTML page. You can open the page to fine-tune things — title, font, logo, resolution — and export with one click.
Finally, I assembled both steps into a stable, production-ready Skill.
Note: qwen3.8-max here refers to the qwen 3.8-max-preview version.
Cover Generation: Four Styles
The styles are where I put the most thought. OpenAI’s covers look simple, but up close there are actually several distinct directions. I broke them into four categories:
Texture. Macro material shots. Wood grain, leather, leaf veins, brushed metal, sand dunes, compound eyes. Full bleed, no white space. Great for product stories, craftsmanship, anything about materiality.
Wash. Monochrome watercolor gradient. Light to dark, transitioning within a single hue. Silky, frosted, rippling. Fits creative, artistic, emotional content.
Light Arc. A single beam of light, or a curved reflective surface. Background is a deeper or lighter shade of the same color family. Restrained, precise. Tech content hits hardest with this one.
Waveform. Soft watercolor ripples. Made for podcasts and conversation-style content. The wave amplitude converges toward the center of the frame, leaving a quiet zone for the title.
Four styles, seven color families (blue, green, red, purple, orange, black, gold), plus four canvas aspect ratios. Mix and match, and the options multiply. But every combination holds the same line: minimal color, visually clean, never jarring. What makes OpenAI’s design good is the restraint. I didn’t want to break that.
How to Use It
Just tell Qwen Code: “Generate a cover based on @article.”
It reads your article and recommends 1–3 styles. You pick — multi-select is fine. Each style gets its own background image, and you can switch between them on the page to compare. Color families come from the presets. No freestyling. Though you can specify directly if you want.
Model Studio CLI generates two candidates. Not happy? Tweak the prompt and rerun. Once the image is locked in, one command assembles the HTML. Open it and you’ve got an editor:
- Click the title on the canvas to edit text directly
- Five fonts to choose from: PingFang, Song, Heiti, Noto Serif, ZCOOL
- Mask and font size via sliders
- Text color: white, black, cream
- Upload a logo (optional, if you need high-res output)
- Export at 1x, @2x, @3x, or press ⌘Enter
What you see is what you get. Canvas rendering, download as PNG.
A few key design decisions I made:
No text in the background image. AI image generation mangles Chinese characters — it’s all garbled output. So the image stays image-only, and text is layered on via HTML. This is the foundation of the entire approach.
Image dimensions are locked to the canvas ratio. WeChat article headers are 900×383, ratio 2.35:1, so the generated image is 1344×572. Wrong ratio means cropping on export, and the composition falls apart.
Waveforms can be multi-color, but must stay soft. The other three styles are strictly monochrome. Waveform allows 2–3 adjacent hues at low saturation, like watercolor bleeding. High-saturation clashes are off the table.
Prompts are all in English. Chinese prompts produce inconsistent image quality. All templates are written in English.
Not limited to WeChat. The default canvas is a WeChat article header. But I’ve preset square 1080×1080, landscape 16:9, and portrait 3:4. Custom sizes work too. One article, one session — WeChat cover, Xiaohongshu cover, video thumbnail, all at once.
How to install the Skill? Just tell your AI Agent:
Clone the repo from https://github.com/joeytoday/open1v-skills, copy the open1v-openai-cover directory to ~/.agents/skills/, verify SKILL.md exists, then delete the cloned repo.Cover images went from twenty minutes of scrolling to one sentence and a two-minute wait — with multiple styles to choose from. If you write technical blogs, give it a try.